
Free Webhook Tester: Get a Live URL and Inspect Requests
Get a live webhook URL in your browser with no account. Send test events from Stripe, GitHub or curl, read headers and bodies, and replay them to localhost.
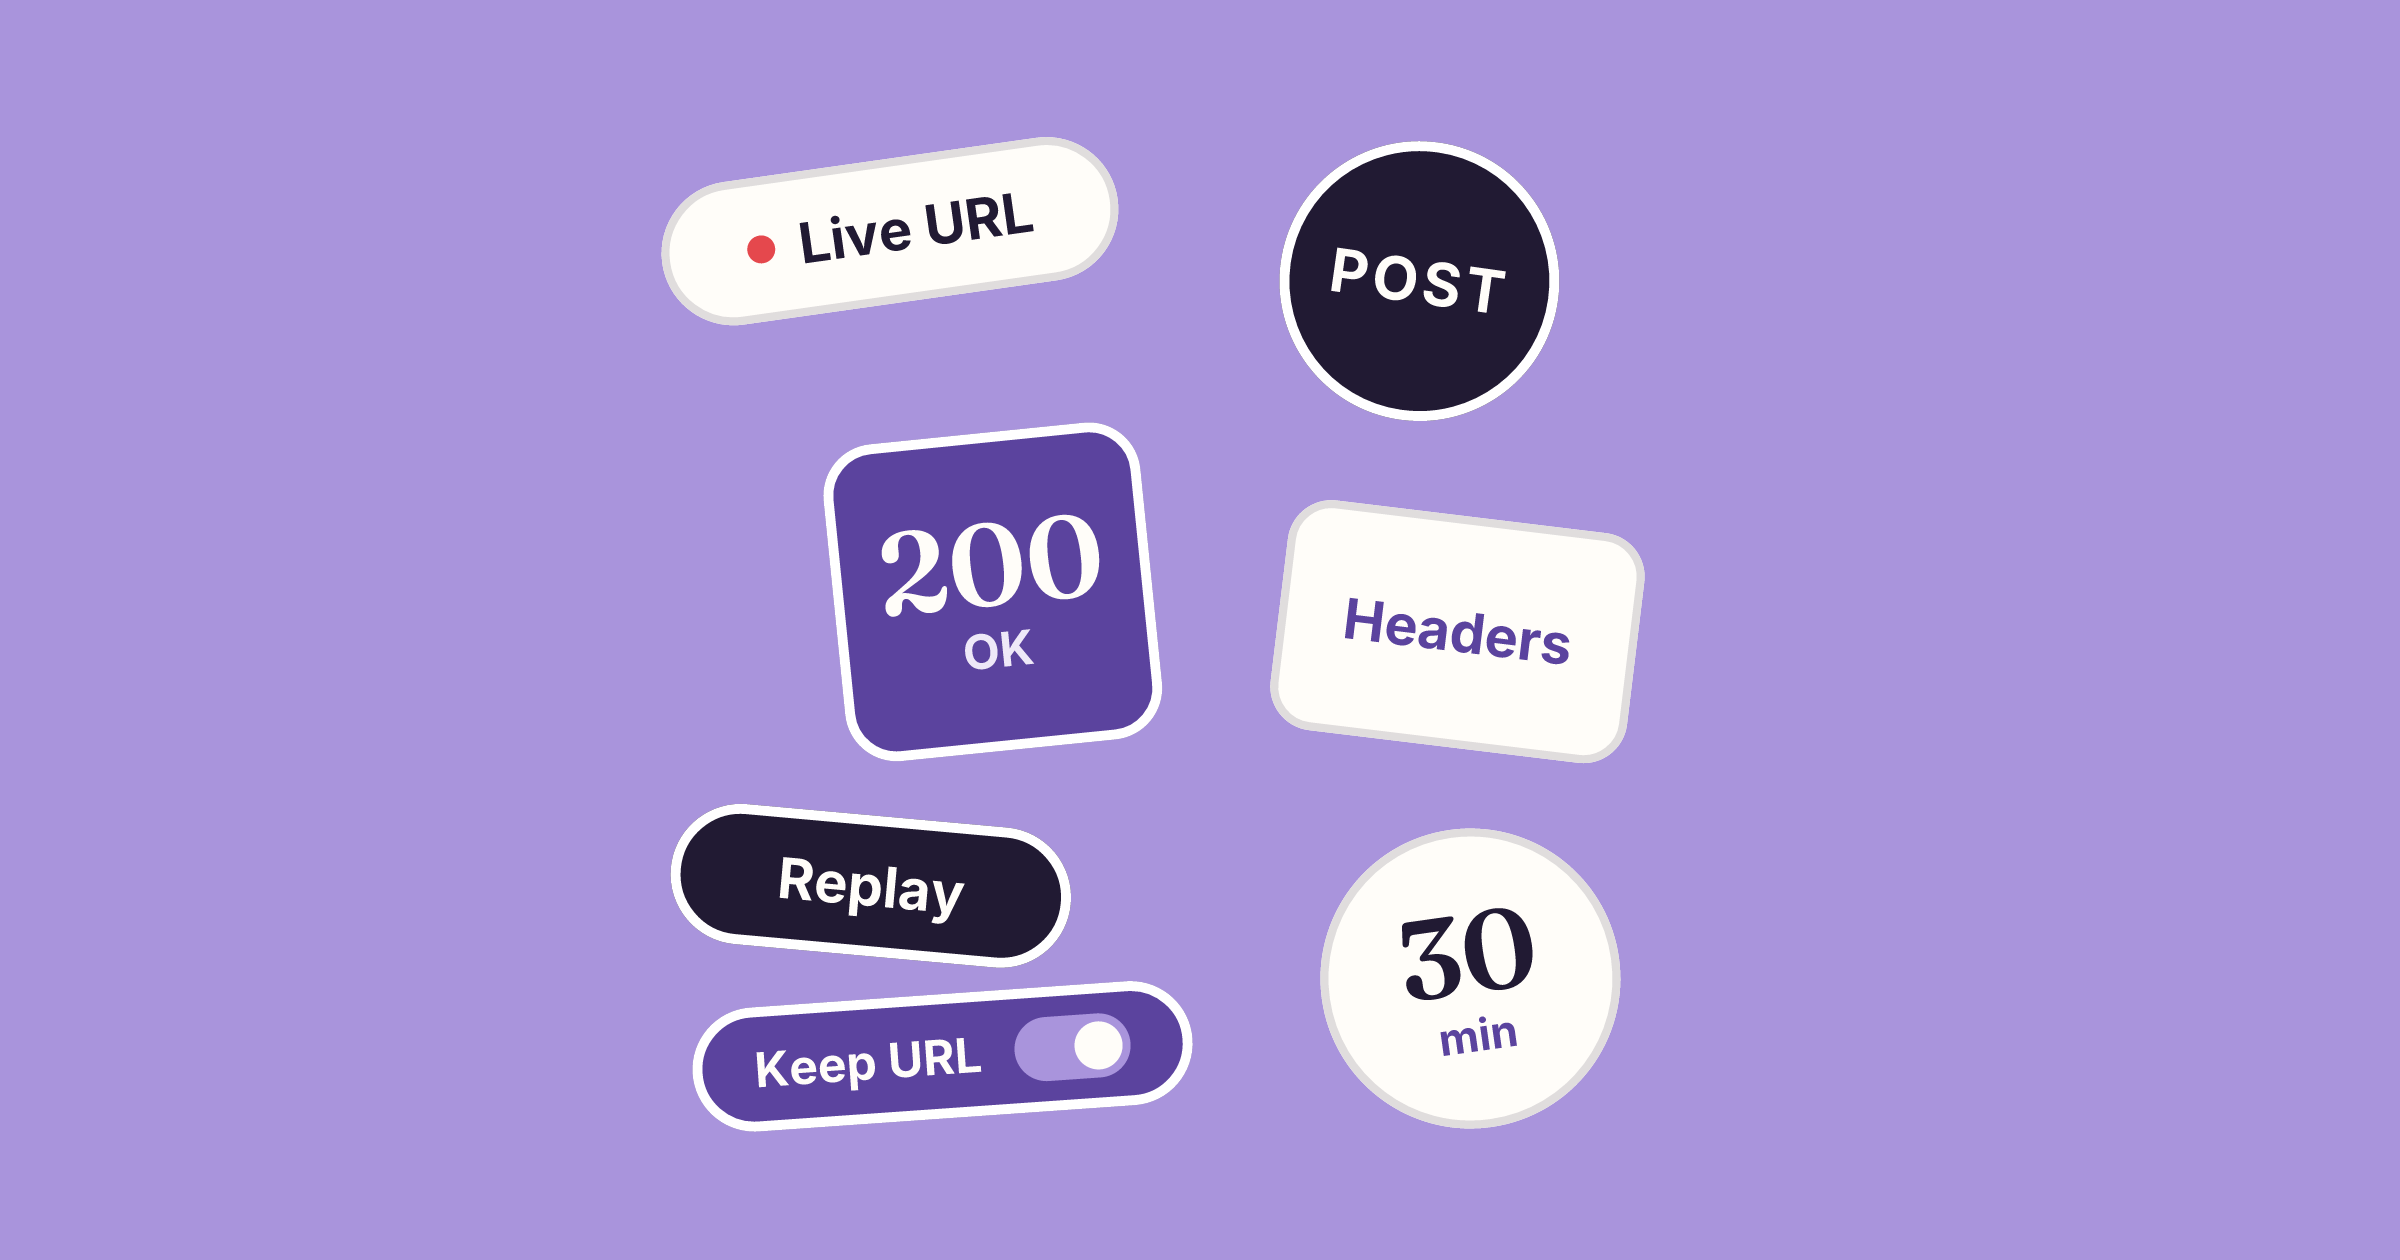
A webhook tester gives you a public URL that records every request sent to it, so you can see exactly what a provider delivers before you write any handler code. You can get one right now, with no account or install, on the OtterKit try page. It gives you a live URL that answers every request and shows each request in a feed as it arrives.
Below are the steps to use one, what to look for in the captured requests, and the problems these tools tend to hide.
What a webhook tester does and when you need one
A webhook is an HTTP request that another service sends to you when something happens: a payment succeeds, a pull request opens, an order ships. The hard part is that you can't see the request until something receives it. A tester receives it for you and shows you:
- the method and path
- every header, including signature and delivery-ID headers
- the full body, exactly as sent
Reach for one when you're:
- Reading a payload you haven't seen before. Provider docs show examples, but the real event often has extra fields or different nesting.
- Checking that a provider is sending anything at all. If nothing arrives at a tester, the problem is the sender's configuration, not your code.
- Debugging signatures. You need the exact headers and body the sender produced.
- Testing without deploying. You don't have to put a half-finished handler on a server just to see one event.
There are three related tools, and they suit different jobs:
| Job | Tool |
|---|---|
| See what a provider sends | A hosted webhook URL that captures requests |
| Run real events through code on your laptop | A tunnel to localhost, or a captured request replayed to localhost |
| Test your handler without a real provider account | Signed mock events sent straight to your handler |
Get a public webhook URL in seconds (no signup)
Open otterkit.com/try and a fresh URL starts for you. It looks like https://try-….otterkit.app. The demo URL:
- lasts 30 minutes
- captures up to 50 requests
- accepts any method on any path
- answers every request with
200and{"received":true}
That's enough to point a provider at it, trigger a few events and read them. The URL is public, so anyone who has it can send to it. Don't send real secrets, live API keys or customer data to a demo URL. Use test mode in your provider and dummy data.
Send a test event from Stripe, GitHub or curl
You have three ways to get a request into the feed.
With curl. This is the fastest way to confirm the URL works:
curl -X POST https://try-….otterkit.app/orders \
  -H "content-type: application/json" \
  -d '{"order_id":"ord_42","total":128}'
From the page. The try page has sample buttons: a JSON order, a Stripe-style checkout.session.completed event, a GitHub-style push to main, and a form submit to /signup. Use them to see what the feed looks like before you configure anything.
From a real provider. Paste the URL wherever the provider asks for a webhook endpoint:
- Stripe: add an endpoint in the dashboard's webhook settings while you're in test mode, then trigger a test payment.
- GitHub: in the repository's webhook settings, set the payload URL and choose the content type. GitHub sends a ping event when you save, so that's usually the first request you'll see.
- Shopify, Slack, Linear and others: the same idea. Find the webhook or event-subscription setting and paste the URL.
Read headers, body and signatures in the request feed
Each request in the feed shows its method, path, headers and full body, ready to copy. A few things are worth checking every time.
The content type. Check that the Content-Type header matches what your handler expects. If the body looks like payload=%7B%22action... rather than JSON, the sender is using form encoding. On GitHub that's the content-type setting on the webhook.
The event type and action. Many providers put the event type in a header and the specific action in the body. GitHub's webhook best practices recommend checking both before you process anything. The same page recommends a high-entropy secret and HTTPS.
The delivery ID. Providers resend events they think failed, so your handler will sometimes see the same event twice. GitHub gives each delivery a unique ID in the X-GitHub-Delivery header. Record IDs like this and skip ones you've already handled.
The signature header. Signed webhooks carry an HMAC of the body, computed with a secret you share with the provider. Your handler must compute the HMAC over the exact raw bytes it received. If your framework parses the JSON and you serialise it again, or you copy a pretty-printed body out of a viewer, the bytes change and the signature won't match. This is the most common reason signature checks fail when the secret is correct.
On the demo URL, signature headers are only shown. Once you claim the URL (see the last section), OtterKit can check them for you. Give the endpoint your signing secret and every request is marked valid, invalid or missing as it arrives:
npx otterkit webhook --verify stripe:whsec_abc123
There are 16 provider presets, including Stripe, GitHub, Shopify, Slack, Svix, Paddle, Linear, Twilio, GitLab and Discord. Checking never blocks a request. You just know which ones to trust. If your own check fails but OtterKit says the signature is valid, your handler is changing the body before it checks.
The size. Large events can be bigger than your server or proxy accepts by default. GitHub caps webhook payloads at 25 MB and doesn't deliver events that would be larger. If a tester shows a big body, check your own body-size limits before you go live.
Test slow and failing responses
Most testers reply 200 straight away, which hides how a real sender reacts when your server is slow or broken. GitHub, for example, expects a 2XX reply within 10 seconds. If none comes, it drops the connection and marks the delivery as failed, so a handler that does heavy work before replying will look broken from GitHub's side. GitHub's delivery-handling example replies with 202 to confirm receipt. That's a good pattern: reply quickly, then do the slow work.
The demo URL always answers 200. A claimed endpoint can answer however you like, so you can watch the sender's retry behaviour:
# Reply 204 instead of 200
npx otterkit webhook --respond 204

# Wait 2 seconds before answering (up to 10 seconds)
npx otterkit webhook --respond-delay 2000

# Fail one path with a 500 to see the sender retry
npx otterkit webhook --respond-match path=/flaky --respond 500
Some providers need a specific reply before they'll send anything. Slack's URL check, for example, wants its challenge echoed back. One rule handles that. All the response options are in the webhooks docs.
Replay a captured request to localhost
Once you've seen a real event, you want your local code to handle it, ideally many times while you fix bugs, without triggering a new payment or push each time.
There are two ways to do that with a claimed endpoint:
- Mirror live traffic. The
--deliveroption onnpx otterkit webhooksends a copy of every capture to your local server. The public URL keeps answering by itself, so if your app crashes, the sender still gets its reply and the request is still in the log. - Replay captures. Send a captured request to your local server again, changing fields if you need to and signing it again. See Replay Requests. The Mac app does the same from its feed: edit a field and send it straight to your port.
If you have no provider account set up yet, otterkit send fires a correctly signed test event straight at your handler:
npx otterkit send stripe:invoice.paid 127.0.0.1:3000/webhooks/stripe \
  --secret whsec_your_signing_secret
For CI, otterkit await waits until the request you expect arrives, then exits 0.
For the wider workflow, including tunnels that send traffic straight to a port on your machine, see the tunnels docs.
Keep the URL after the free 30 minutes
If the demo URL turns out to be useful (because you've already pasted it into Stripe, say), you can keep it. Log in once, then claim the session with the code shown on the try page:
npx otterkit login
npx otterkit webhook --claim <code>
The URL stays the same and everything captured so far comes with it. Here's what changes:
| Demo | Claimed | |
|---|---|---|
| How long it lasts | 30 minutes | 24 hours by default, up to 7 days, or always on |
| Requests | 50 | 100,000 every 30 days |
| Response | Always 200 | Any status, body, headers or delay |
| Signatures | Shown only | Checked for Stripe, GitHub, Shopify and 13 more |
| Laptop closed | Doesn't apply | Answered and held, replayed when you're back |
New accounts start with 10 free credits. After that a live endpoint costs $0.01 an hour, and never more than $3 per endpoint in any 30 days. Captures from endpoints you start in the CLI are kept on your machine, not on OtterKit's servers, because webhook bodies often carry secrets.
Troubleshooting: nothing arrives, or it arrives wrong
- Nothing in the feed. Check that the URL you pasted is the full HTTPS URL with no typo. Then look for a "recent deliveries" log or test button in the provider. Most have one, and it shows the error they got.
- The provider reports a failure but the request shows up. If you're on a claimed endpoint with custom responses, check your rules. A matching rule may be returning a 4xx or 5xx.
- Redirects. Paste the final URL. Some senders count a redirect as a failure rather than following it.
- The body is empty or encoded. Check the content-type setting on the sender's side.
- The signature never matches. Check the secret, then check that your code hashes the raw body and not a parsed copy.
- Duplicates. Expected after retries. Remove them using the delivery ID.
FAQ
Is the webhook tester free? Yes. The try page needs no account and lasts 30 minutes, for up to 50 requests. Claiming the URL uses credits, and new accounts start with 10 free credits.
Can other people see my test URL? Anyone who knows the URL can send requests to it. Treat it as public and use test-mode data only.
Can I test Stripe webhook signatures without a Stripe account?
Yes. otterkit send sends correctly signed Stripe, GitHub, Shopify and Slack events to your local handler, using the signing secret you give it.
What happens to requests while my laptop is closed? A claimed webhook endpoint keeps answering senders and holds the requests. When you reconnect, they replay into your log in order.
Can an AI agent use the tester? Yes. OtterKit's MCP server lets agents like Claude Code and Cursor create endpoints, wait for a specific request and replay it after a fix.
What Is a Webhook Endpoint? How to Set One Up in Minutes
A webhook endpoint is the public URL and code that receive event POSTs from Stripe or GitHub. What it must do, why endpoints miss events, and how to set one up.
Stripe Webhook Signature Verification, Explained with Code
How Stripe's webhook signature works, where to find your whsec signing secret, and how to verify it in Node and Python without the usual raw-body errors.
Localhost Tunnels for AI Agents: Give Your Agent a Public URL
How to give an AI coding agent a localhost tunnel it can open, check and close itself, with stable URLs, background mode and spend limits.