
Stripe Webhook Signature Verification, Explained with Code
How Stripe's webhook signature works, where to find your whsec signing secret, and how to verify it in Node and Python without the usual raw-body errors.
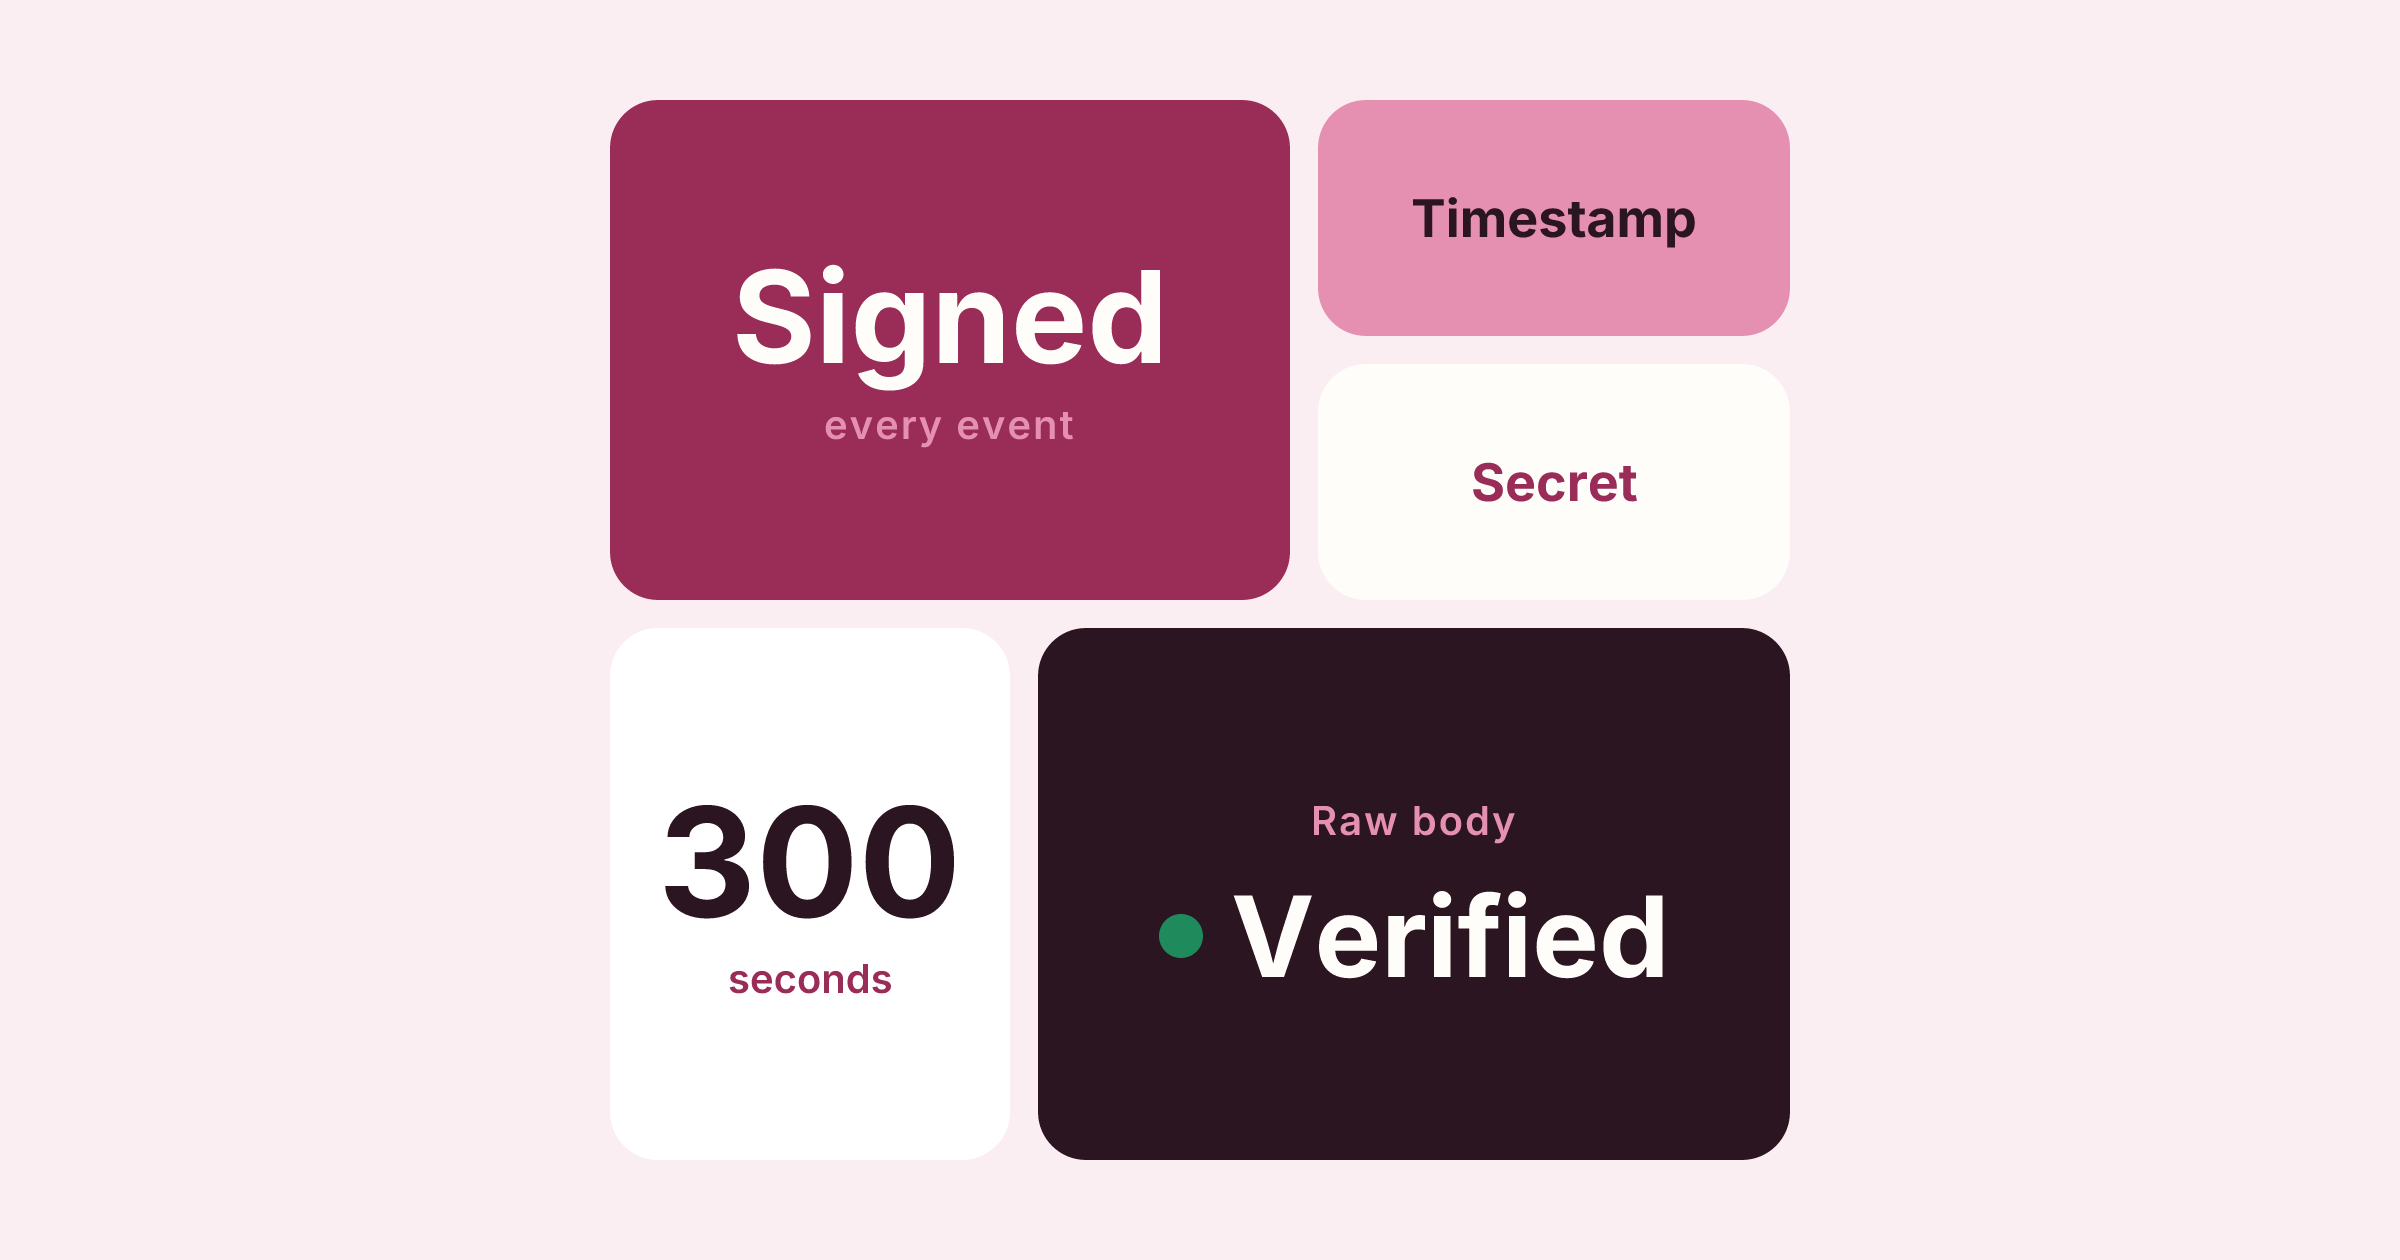
To verify a Stripe webhook, pass three things to Stripe's SDK: the raw request body, the Stripe-Signature header and your endpoint's whsec_ signing secret. The SDK recomputes an HMAC-SHA256 signature and checks the timestamp. Nearly every failure comes from a parsed body or the wrong secret.
This post covers how the signature is built, where to find the secret, working code for Node and Python, a verifier written by hand, and how to fix the common errors.
Why Stripe signs every webhook
Your webhook URL is public. Anyone who finds it can send a POST that looks like invoice.paid. To stop this, Stripe signs every event it sends and puts the signature in the Stripe-Signature header. Only Stripe and your server know the signing secret, so a valid signature proves two things: Stripe sent the event, and nobody changed it on the way.
If you skip verification, your handler will trust any request that looks right. That's fine for a test page. It isn't fine for anything that marks orders as paid.
How the Stripe-Signature header works
A typical header looks like this:
Stripe-Signature: t=1700000000,v1=5257a869e7ecebeda32affa62cdca3fa51cad7e77a0e56ff536d0ce8e108d8bd,v0=...
tis the Unix timestamp of when Stripe signed the event.v1is the signature. It's an HMAC-SHA256, hex-encoded, computed with your signing secret over this string: the timestamp, a literal., then the raw body.v0shows up only on test events. Ignore it.
Your parser has to handle three things that catch people out:
- There can be more than one
v1. A request is genuine if any one of them matches. - Order and count aren't fixed. Don't read "the second entry" and assume it's the signature. Stripe says parsers must accept unknown entries without depending on how many there are or where they appear.
- Debug entries aren't signed. The header can include optional
secret,destinationandpayloadentries to help with debugging. They aren't covered by the signature, so never use them to decide whether a request is genuine. Only a matchingv1counts.
The timestamp guards against replay attacks. Without it, someone who captured one genuine request could send it again forever. The SDKs reject events older than a tolerance, which is 300 seconds by default. Don't set the tolerance to zero or make it huge to "fix" an error. That turns off the protection.
Finding your webhook signing secret
There isn't one Stripe webhook secret. There are several, and using the wrong one is the second most common failure:
| Where the events come from | Which secret verifies them |
|---|---|
| An endpoint you added in the Dashboard, test mode | That endpoint's test-mode secret |
| The same endpoint, live mode | A different, live-mode secret |
stripe listen in the Stripe CLI | The secret the CLI prints when it starts |
Stripe creates a unique secret for each endpoint, and the test and live secrets differ even for the same URL. To find a Dashboard secret, open your webhook settings, select the endpoint and reveal its signing secret. The CLI prints its own secret each time you run stripe listen.
All of these start with whsec_. They still aren't interchangeable: a secret from stripe listen won't verify events sent to a Dashboard endpoint, and the reverse is also true.
Don't confuse the signing secret with your API key (sk_test_… / sk_live_…). The API key lets you call Stripe. The whsec_ secret only verifies webhooks. Keep them in separate environment variables.
Verifying signatures in Node
With Express, the webhook route has to receive the body as raw bytes:
const express = require('express');
const Stripe = require('stripe');

const stripe = new Stripe(process.env.STRIPE_SECRET_KEY);
const endpointSecret = process.env.STRIPE_WEBHOOK_SECRET;
const app = express();

app.post('/webhooks/stripe', express.raw({ type: 'application/json' }), (req, res) => {
  let event;
  try {
    event = stripe.webhooks.constructEvent(
      req.body,                          // Buffer, untouched
      req.headers['stripe-signature'],
      endpointSecret
    );
  } catch (err) {
    console.error('Stripe signature check failed:', err.message);
    return res.status(400).send(`Webhook Error: ${err.message}`);
  }

  // Signature is valid: now check for duplicates, then queue the work
  res.sendStatus(200);
});

// Register the JSON parser AFTER the webhook route
app.use(express.json());
That last line matters. Stripe's docs note that express.json() must come after the webhook route. Otherwise it parses the body before verification and the check fails.
In a Next.js App Router route handler, read the body as text:
export async function POST(req: Request) {
  const body = await req.text();
  const sig = req.headers.get('stripe-signature') ?? '';
  try {
    const event = stripe.webhooks.constructEvent(body, sig, process.env.STRIPE_WEBHOOK_SECRET!);
    // handle event
    return new Response(null, { status: 200 });
  } catch {
    return new Response('Invalid signature', { status: 400 });
  }
}
Edge runtimes don't have Node's crypto module. Use stripe.webhooks.constructEventAsync, which works with Web Crypto.
If you use Stripe's newer thin events, the verify call is parseEventNotification() instead of constructEvent(). It takes the same three inputs, so everything in this post still applies.
Verifying signatures in Python
In Flask, request.get_data() gives you the raw bytes:
import os
import stripe
from flask import Flask, request

app = Flask(__name__)
endpoint_secret = os.environ["STRIPE_WEBHOOK_SECRET"]

@app.post("/webhooks/stripe")
def stripe_webhook():
    payload = request.get_data()
    sig_header = request.headers.get("Stripe-Signature")
    try:
        event = stripe.Webhook.construct_event(payload, sig_header, endpoint_secret)
    except ValueError:
        return "Invalid payload", 400
    except stripe.error.SignatureVerificationError:
        return "Invalid signature", 400
    # handle event
    return "", 200
In FastAPI, use payload = await request.body(). Don't declare a Pydantic model for the body, because then FastAPI parses it first.
A verifier written by hand
Most guides stop at the SDK. Knowing what it does helps when you're debugging, or when you're working in a language without an SDK. Here are the four steps in plain Node:
const crypto = require('crypto');

function verifyStripeSignature(rawBody, header, secret, toleranceSec = 300) {
  if (!header) throw new Error('missing Stripe-Signature header');

  let timestamp;
  const v1 = [];
  for (const part of header.split(',')) {
    const i = part.indexOf('=');
    if (i === -1) continue;
    const key = part.slice(0, i).trim();
    const value = part.slice(i + 1).trim();
    if (key === 't') timestamp = value;
    else if (key === 'v1') v1.push(value);
    // ignore v0, debug entries and any unknown keys
  }
  if (!timestamp || v1.length === 0) throw new Error('malformed header');

  const expected = crypto
    .createHmac('sha256', secret)
    .update(timestamp + '.')
    .update(rawBody)              // Buffer or string, exactly as received
    .digest();

  const matches = v1.some((sig) => {
    const got = Buffer.from(sig, 'hex');
    return got.length === expected.length && crypto.timingSafeEqual(got, expected);
  });
  if (!matches) throw new Error('no matching v1 signature');

  const age = Math.floor(Date.now() / 1000) - Number(timestamp);
  if (!Number.isFinite(age) || Math.abs(age) > toleranceSec) {
    throw new Error('timestamp outside tolerance');
  }
  return true;
}
The steps:
- Parse the header without assuming any order.
- Build
timestamp.body. - Compare in constant time against every
v1. - Check the timestamp.
In production, still use the SDK. It's maintained and handles cases you'd otherwise have to find yourself.
Common failures and what they mean
| Error mentions | Usual cause |
|---|---|
| No signature header provided | The header was stripped by a proxy, or you read the wrong header name |
| Unable to extract timestamp and signatures | The header is malformed or truncated, often by a gateway |
| Timestamp outside the tolerance zone | Your server clock is wrong, or an old event was replayed |
| No signatures found matching the expected signature for payload | The body was parsed or changed, or you used the wrong secret |
The last error accounts for most support threads. Check these in order:
- Raw body. Any change to the body breaks verification. That includes parsing it and re-serialising it, trimming whitespace and re-encoding it. Look for middleware that runs before your route.
- Wrong secret. You're using a CLI secret against Dashboard events, a test secret in live mode, or the secret from a different endpoint.
- Serverless bodies. Some API gateways hand you the body base64-encoded. Decode it to the original bytes before verifying.
- Proxies and WAFs. Anything in front of your app that rewrites bodies or drops headers will break the signature.
- Clock skew. If your server's clock has drifted by more than a few minutes, every event fails the timestamp check. Run NTP.
When you log while debugging, print the header, the body's length and the last four characters of the secret. Never log the full secret.
What to do after the signature passes
Order matters. Stripe recommends verifying first, then checking whether you've already handled the event. Stripe retries deliveries, so duplicates are normal:
- Verify the signature. If it fails, return 400.
- Look up
event.id. If you've already processed it, return 200 and do nothing. - Store the event, return 2xx quickly, and do the slow work in a background job.
If you answer a duplicate with an error, Stripe treats it as a failed delivery and sends it again. The guide to 4xx status codes explains what each code tells a sender to do next.
Checking signatures on arrival with OtterKit
A lot of signature debugging comes down to one question: is my check wrong, or is the payload wrong? An OtterKit webhook endpoint can answer that before your code runs. Give it your secret and it checks every request's signature as it arrives:
npx otterkit webhook --verify stripe:whsec_abc123 --deliver 3000
Each captured request is marked valid, invalid or missing, and your local server receives the verdict in an X-OtterKit-Verified header. Checking never blocks a request, so Stripe still gets its answer. If OtterKit says a request is valid but your handler rejects it, your handler is changing the body before it checks.
The endpoint keeps answering while your laptop is closed. It costs 1 credit ($0.01) per live hour, capped at $3 per 30 days. Stripe is one of 16 supported providers, and the webhooks docs list every option.
You can also test without a Stripe account. otterkit send signs an event the way Stripe does and fires it at your local handler, so you can prove your own check passes:
npx otterkit send stripe:payment_intent.succeeded 127.0.0.1:3000/webhooks/stripe --secret whsec_your_secret
OtterKit can also check the signatures of requests you've already captured against a secret, on your machine. If captures fail with the correct secret, the payload was altered on the way or your code isn't verifying the raw bytes. If they pass, the bug is in your handler.
Editing a captured request's body breaks its signature. Add --resign when you replay it, and the edited body is signed again so it still passes your check. For the rest of the local loop, see how to test webhooks locally.
FAQ
What is the Stripe webhook secret key?
It's the whsec_ value Stripe creates for each webhook endpoint, with separate values for test and live mode. It's only used to verify signatures. It isn't your API key.
Why does verification pass locally but fail in production? Usually the wrong secret: you're still using the CLI or test-mode secret against live Dashboard events. The other common cause is a proxy or gateway in production that changes the body.
Can I turn off the timestamp check while testing? Don't. If an old event fails the check, trigger a fresh event instead of widening the tolerance.
What status should I return when verification fails? Return 400. When verification passes, return 2xx quickly, including for duplicate events you've already handled.
What Is a Webhook Endpoint? How to Set One Up in Minutes
A webhook endpoint is the public URL and code that receive event POSTs from Stripe or GitHub. What it must do, why endpoints miss events, and how to set one up.
Free Webhook Tester: Get a Live URL and Inspect Requests
Get a live webhook URL in your browser with no account. Send test events from Stripe, GitHub or curl, read headers and bodies, and replay them to localhost.
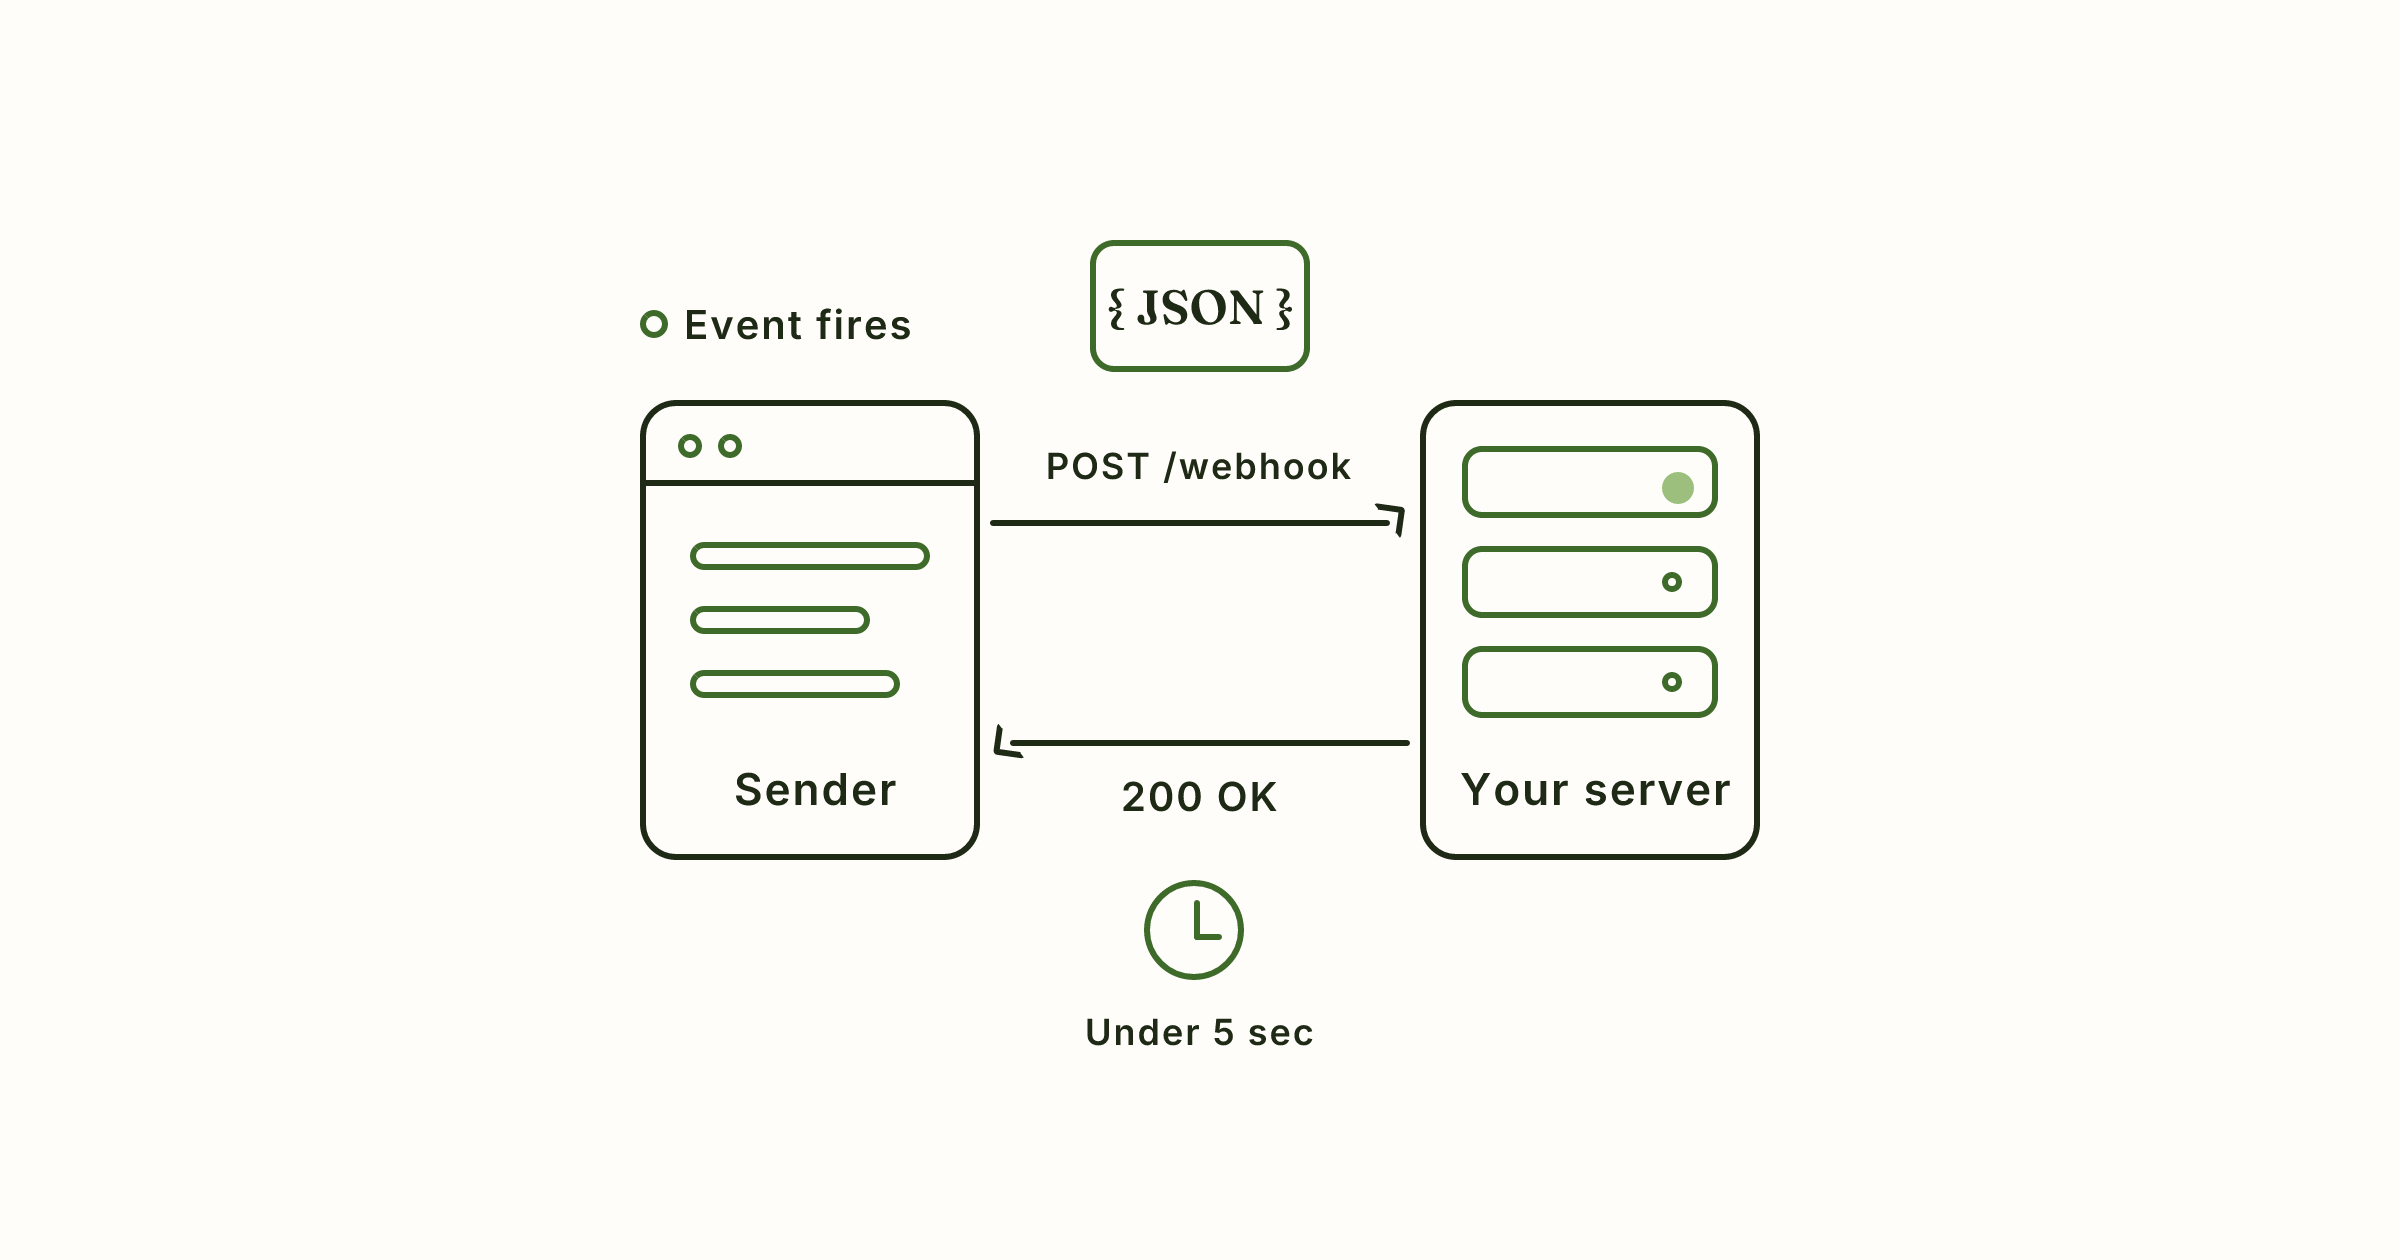
How Do Webhooks Work? A Hands-On Explanation
How webhooks work, step by step: the HTTP request, payload and headers, retries, timeouts and signature checks, plus a live URL to watch one arrive.